Integrate REST APIs Into Your Flutter App Using Dio Package
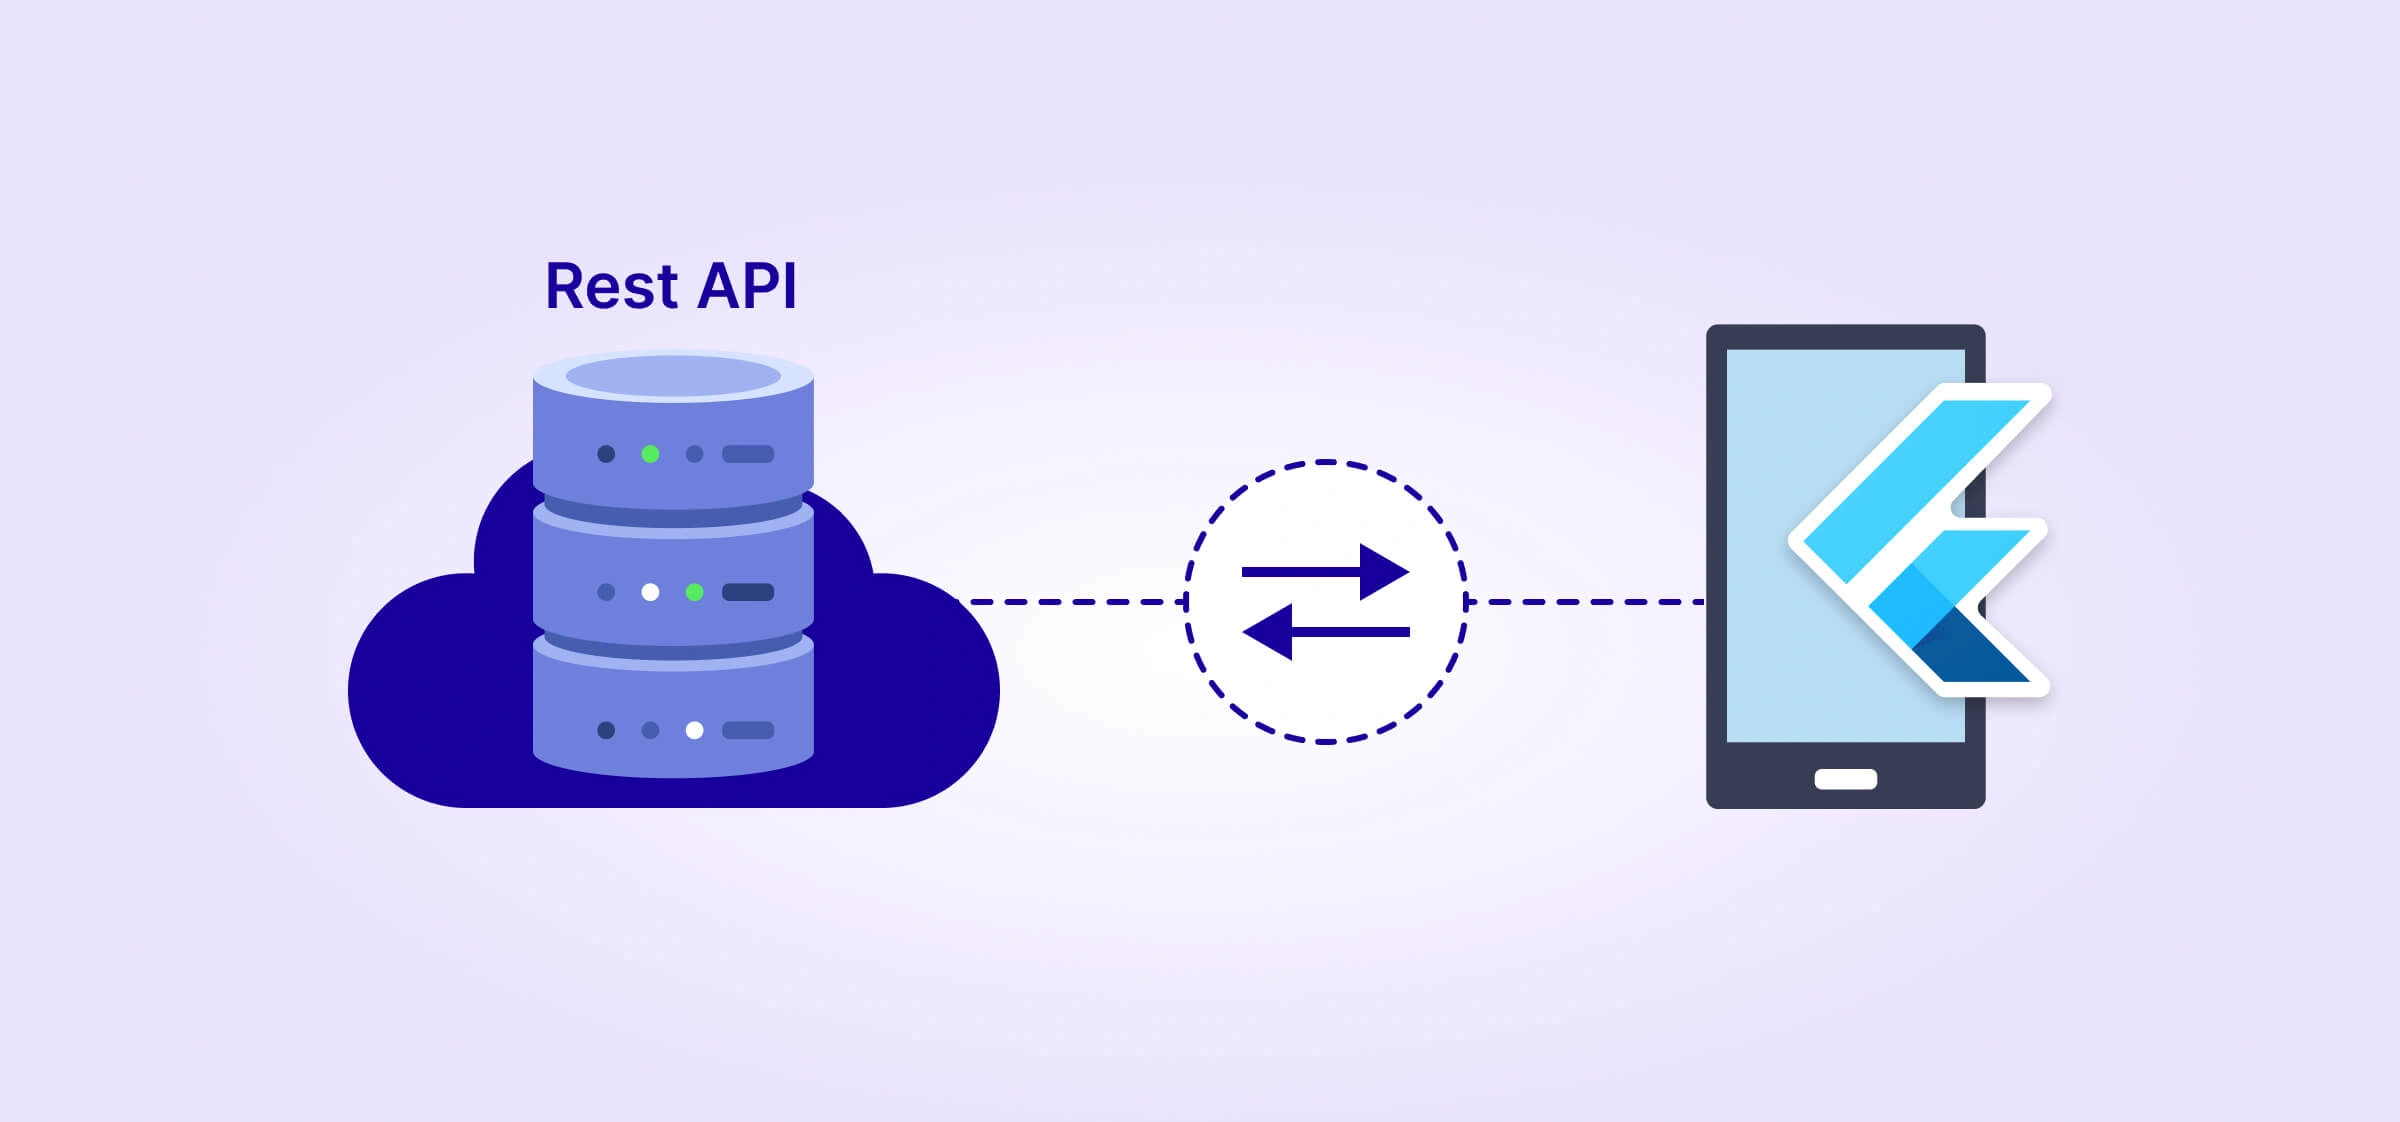
Have you ever wondered how mobile apps fetch data from the internet? Whether you’re loading social media feeds, weather updates, or e-commerce product lists, API integration is the backbone.
In Flutter, the use of Dio package makes handling API calls effortless with powerful features like request cancellation, interceptors, and easy error handling.
In this guide, we’ll set up API calls in your Flutter app using Dio. Whether you’re a beginner or an experienced developer, this tutorial will help you streamline data fetching efficiently.
Before we dive in, make sure you have...
- A Flutter project set up
- Android and iOS configurations
- Dart SDK installed
- Basic understanding of Flutter widgets and REST APIs
If you’re new to REST APIs, think of them like waiters in a restaurant. Your app (the customer) makes a request (order), and the API (waiter) fetches data (food) from the server (kitchen).
Simple, right? Now, let’s get started!
Step 1: Add Dio to Your Flutter Project
- When working with APIs, your app needs internet permissions to function properly.
- For Android, add this inside AndroidManifest.xml:
- <uses-permission android:name="android.permission.INTERNET"/>
- For iOS, ensure App Transport Security (ATS) allows network access by modifying Info.plist:
- <key>NSAppTransportSecurity</key>
- <dict>
- <key>NSAllowsArbitraryLoads</key>
- <true/>
- </dict>
- To use
dio, add it as a dependency in yourpubspec.yamlfile:
- dependencies:
- flutter:
- sdk: flutter
- dio: ^5.3.2
- Run the following command to install the package:
- flutter pub get
Step 2: Create a Dio Instance
In your Flutter app, create a helper class to handle API requests. This centralizes API logic and improves maintainability.
- Instead of creating multiple Dio instances, use a singleton pattern to reuse the same instance throughout your app.
- The BaseOptions object allows the setting:
- baseUrl → The main URL for API requests.
- connectTimeout & receiveTimeout → Helps prevent requests from hanging indefinitely.
- headers → Default headers, like
Content-Type: application/json, should be included in most API requests.
- The ApiService class encapsulates API logic, making it easy to reuse across screens.
It provides a cleaner way to manage API calls rather than writing them directly inside widgets.
- import 'package:dio/dio.dart';
- class ApiService { static final ApiService _instance = ApiService._internal();
- factory ApiService() => _instance;
- late final Dio _dio;
- ApiService._internal() {
- _dio = Dio(
- BaseOptions(
- baseUrl: 'https://jsonplaceholder.typicode.com',
- connectTimeout: Duration(seconds: 10),
- receiveTimeout: Duration(seconds: 10),
- headers: {'Content-Type': 'application/json'},
- ),
- );
- }
- Future<Response> get(String endpoint) async {
- try {
- Response response = await _dio.get(endpoint);
- return response;
- } catch (e) {
- throw Exception('Failed to load data: $e');
- }
- }
- }
Step 3: Fetch Data From An API
Use the ApiService class to fetch data inside your widgets.
- import 'package:flutter/material.dart';
- import 'api_service.dart';
- import 'package:dio/dio.dart';
- class HomeScreen extends StatelessWidget {
- final ApiService apiService = ApiService();
- HomeScreen({super.key});
- Future<List<dynamic>> fetchPosts() async {
- try {
- Response response = await apiService.get('/posts');
- return response.data;
- } catch (e) {
- print(e);
- return [];
- }
- }
- @override
- Widget build(BuildContext context) {
- return Scaffold(
- appBar: AppBar(title: Text('API Data')),
- body: FutureBuilder<List<dynamic>>(
- future: fetchPosts(),
- builder: (context, snapshot) {
- if (snapshot.connectionState == ConnectionState.waiting) {
- return Center(child: CircularProgressIndicator());
- } else if (snapshot.hasError) {
- return Center(child: Text('Error loading data'));
- } else if (!snapshot.hasData || snapshot.data!.isEmpty) {
- return Center(child: Text('No data available'));
- }
- return ListView.builder(
- itemCount: snapshot.data!.length,
- itemBuilder: (context, index) {
- return ListTile(
- title: Text(snapshot.data![index]['title']),
- subtitle: Text(snapshot.data![index]['body']),
- );
- },
- );
- },
- ),
- );
- }
- }
Step 4: Handling POST, PUT, and DELETE Requestes
To send data to an API using POST, add this method inside ApiService:
- Future<Response> post(String endpoint, Map<String, dynamic> data) async {
- try {
- Response response = await _dio.post(endpoint, data: data);
- return response;
- } catch (e) {
- throw Exception('Failed to send data: $e');
- }
- }
- Future<Response> put(String endpoint, Map<String, dynamic> data) async {
- try {
- Response response = await _dio.put(endpoint, data: data);
- return response;
- } catch (e) {
- throw Exception('Failed to send data: $e');
- }
- }
- Future<Response> delete(String endpoint, {Map<String, dynamic>? data}) async {
- try {
- Response response = await _dio.delete(endpoint, data: data);
- return response;
- } catch (e) {
- throw Exception('Failed to delete data: $e');
- }
- }
- void createPost() async {
- Map<String, dynamic> postData = {
- "title": "New Post",
- "body": "This is a new post.",
- "userId": 1
- };
- try {
- Response response = await apiService.post('/posts', postData);
- print('Post Created: ${response.data}');
- } catch (e) {
- print(e);
- }
- }
Step 5: Adding Interceptors For Logging and Error Handling
Interceptors help track API requests, responses, and errors.
- Why use interceptors?
- They help track API requests and responses.
- You can use them to log requests, responses, and errors for debugging.
- Interceptors can also automatically retry failed requests.
- Implement automatic retries for failed requests:
- If a request fails due to network issues or timeouts, automatically retry it instead of failing immediately.
- This improves the user experience and makes the app more resilient.
- void setupInterceptors() {
- _dio.interceptors.addAll([
- InterceptorsWrapper(
- onRequest: (options, handler) {
- print("Request: ${options.method} ${options.path}");
- return handler.next(options);
- },
- onResponse: (response, handler) {
- print("Response: ${response.statusCode} ${response.data}");
- return handler.next(response);
- },
- onError: (DioException e, handler) {
- print("Error: ${e.message}");
- return handler.next(e);
- },
- ),
- QueuedInterceptorsWrapper(
- onError: (DioException e, handler) async {
- if (e.type == DioExceptionType.connectionTimeout ||
- e.type == DioExceptionType.receiveTimeout) {
- print("Retrying request...");
- return handler.resolve(await _dio.request(e.requestOptions.path, options: e.requestOptions));
- }
- return handler.next(e);
- },
- )
- ]);
- }
Bonus Tip
Dio also supports request cancellation using CancelToken, useful when navigating between screens to avoid unnecessary API calls.
Conclusion
By following this guide, you now have a structured way to integrate REST APIs into your Flutter app using Dio. You now know how to:
✅ Install and configure Dio
✅ Make GET, POST, PUT and DELETE requests
✅ Handle errors gracefully
✅ Use interceptors for logging
This approach ensures efficient API calls and better code maintainability. Now, go ahead and start integrating APIs into your Flutter projects!

Don’t miss out on our exclusive tips on creating multi-language Flutter apps!
Build Your Mobile App With Us
Tell us more about your project ideas and the challenges you’d like to solve, and we’ll contact you!